 Featured Machines
 Travel CPAPs
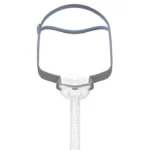 Most Popular Masks
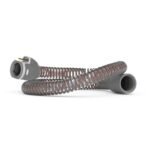
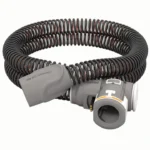 Tubes and Hoses
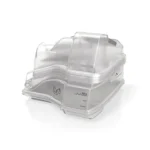 Humidifier Chambers
 Machine Filters
 Power Cords
 Headgear
 Nasal Pillows
 Cushions and Seals



How to Adjust CPAP Humidity for Better Sleep

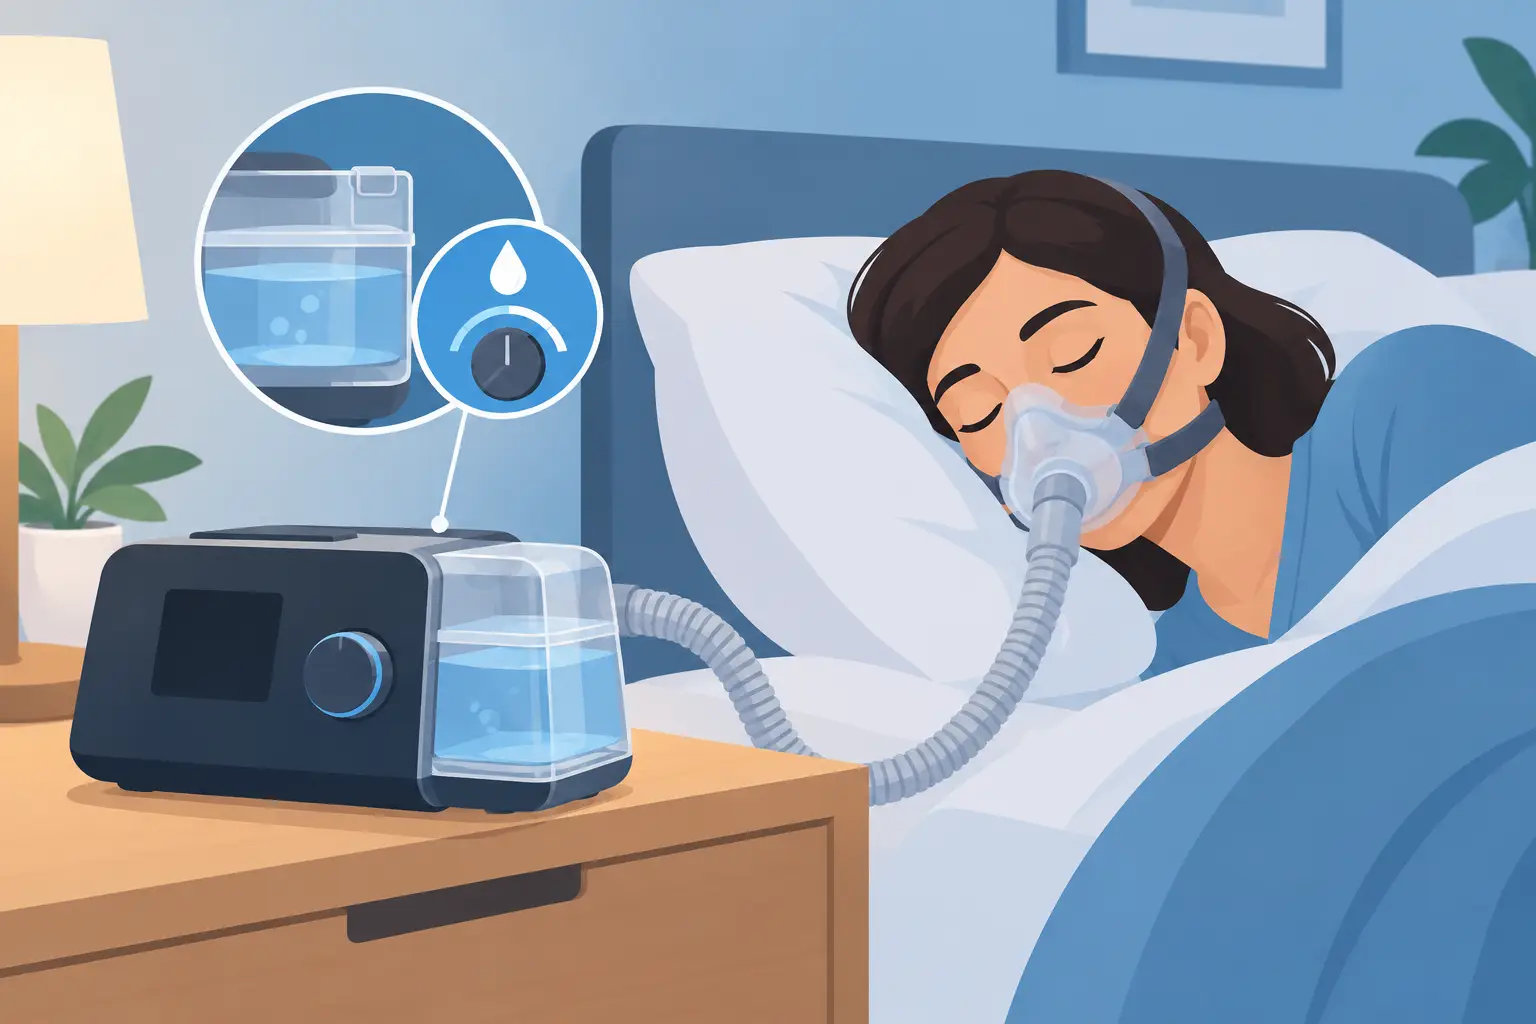
A dry, scratchy throat at 3 a.m. can make even excellent CPAP therapy feel hard to continue. Learning how to adjust CPAP humidity can often make the difference between taking off your mask early and settling into the comfortable, restorative sleep your therapy is designed to support.
Humidification adds moisture to the airflow from your CPAP machine. The right setting is personal: it depends on your home’s temperature, local climate, mask type, nasal symptoms, and whether you use heated tubing. A setting that feels perfect in July may leave you dry in January. Small, deliberate changes are usually more effective than turning the humidity to the highest level right away.
Why CPAP Humidity Changes Comfort
CPAP treatment delivers pressurized air to keep your airway open. That air can dry the nose, mouth, and throat, especially if you live in a dry climate, run heat or air conditioning overnight, or breathe through your mouth during sleep. A heated humidifier warms water in the machine’s chamber and adds moisture to the therapy air.
For many people, proper humidity reduces nasal dryness, morning sore throat, stuffiness, and irritation. It can also make it easier to use CPAP consistently. Comfort matters because regular use gives therapy the best opportunity to support better breathing and more rejuvenating sleep.
More humidity is not always better, though. Too much moisture can create condensation in the tubing or mask, commonly called rainout. You may hear gurgling in the tube, feel water droplets on your face, or wake up feeling congested. The goal is comfortable air, not the maximum possible moisture.
How to Adjust CPAP Humidity Step by Step
Most modern CPAP machines with an integrated humidifier allow you to change humidity through the device menu. On many ResMed machines, the setting is found under My Options or a similar comfort menu. The exact menu labels vary by model, so use your machine’s instructions if the screen looks different.
Start by checking that the humidifier chamber is clean, correctly seated, and filled with distilled water to the maximum fill line. Distilled water helps limit mineral buildup in the chamber. Never overfill it, and do not add oils, fragrances, or other substances unless your clinician specifically tells you to do so.
If you are dry, increase the humidity by one level and use that setting for two or three nights. Give your body and your bedroom conditions time to respond. If dryness continues, increase another level. If you wake with water in the mask, a damp pillow area near the tubing, or increased stuffiness, lower the humidity by one level.
Make one change at a time. Adjusting pressure, mask fit, humidity, tube temperature, and sleep position all at once makes it difficult to know what actually improved your comfort.
When to Raise the Humidity Setting
Consider raising humidity gradually if you regularly wake with a dry mouth, dry nose, cracked lips, sore throat, or nasal irritation. You may also need more humidity during cold-weather months, when indoor heating removes moisture from the air.
Dry mouth deserves a closer look. Higher humidity may help, but it may not solve the underlying cause if your mouth opens during sleep. People using a nasal mask or nasal pillows sometimes benefit from improving mask fit, addressing nasal congestion, or discussing a chin strap or a different mask style with a qualified sleep professional. A full-face mask may be more comfortable for some mouth breathers, but it is not automatically the right answer for everyone.
When to Lower the Humidity Setting
Lower humidity if you notice water collecting in the tube or mask, a bubbling sound from the tubing, or a sensation of cool moisture on your nose. If you wake feeling more congested after raising the setting, excess humidity may be contributing as well.
Bedroom temperature plays a major role. Warm, humid air cools as it travels through a tube in a cooler room, and that moisture can condense before it reaches you. Lowering humidity can help, but it is not the only option.
Prevent Rainout Without Giving Up Comfort
Rainout is common, especially in a cool bedroom, and it does not mean your CPAP therapy is failing. First, make sure the machine sits lower than your mattress if possible. This encourages any condensation to flow back toward the humidifier chamber rather than toward your mask.
A heated tube can be especially helpful if rainout keeps interrupting your sleep. It maintains a more consistent air temperature from the machine to the mask, allowing you to use a comfortable humidity level with less condensation. If your device offers Climate Control or an automatic humidity mode, that setting may manage humidity and tube temperature together based on room conditions.
You can also try warming the bedroom slightly, keeping the tubing under the bedcovers, or using a fabric tube cover. Each approach has a trade-off: a warmer room may not suit every sleeper, and tubing under blankets should not become bent, compressed, or blocked. Choose the simplest change that improves your comfort.
Your Mask and Humidity Work Together
Humidity settings cannot fully compensate for a mask leak. A leaking mask allows therapy air to escape, which can make your eyes, nose, or mouth feel dry and can disturb sleep. If your mask shifts when you change positions, first check the cushion, headgear adjustment, and tubing placement.
Avoid overtightening the straps. Many modern masks are designed to create a seal with gentle contact, and straps that are too tight can distort the cushion and worsen leaks. Replace cushions, pillows, and other components on the schedule recommended for your equipment and comfort needs. Worn materials are more likely to leak.
If you use a nasal mask and have persistent nasal blockage, increasing humidity may help, but it is wise to consider other causes. Seasonal allergies, a cold, medication effects, or structural nasal concerns may need attention beyond your machine settings. Speak with your healthcare provider when congestion is new, severe, or ongoing.
A Simple Starting Point for Seasonal Changes
There is no single “correct” CPAP humidity number. As a practical starting point, use your machine’s automatic setting if available, or begin around the middle of the manual range. Then adjust slowly according to what you feel.
In dry winter conditions, many users need a modest increase in humidity and possibly more tube warmth. In humid summer conditions, they may prefer less. Travelers may notice the same difference when moving between a dry hotel room, a cool airplane cabin, and a more humid destination. Bring your usual distilled water when practical, or empty and dry the chamber before packing it for travel.
Keep a brief note for a week when you are troubleshooting: humidity level, tube temperature if applicable, dryness, congestion, leaks, and whether rainout occurred. This can reveal patterns quickly and gives your sleep care team useful information if you need support.
When to Ask for Clinical Support
Contact your healthcare provider or sleep care team if discomfort continues despite reasonable adjustments, if you develop nosebleeds, if you have significant sinus pain, or if CPAP use becomes difficult because of persistent dryness or congestion. Do not change prescribed pressure settings to treat dryness without guidance. Humidity affects comfort; pressure settings are part of your prescribed therapy plan.
It is also worth checking the basics: use a clean chamber, replace damaged tubing, inspect filters, and confirm that your machine is working as expected. Ongoing support is part of successful CPAP care, particularly when you are new to therapy or changing masks, machines, or travel routines.
A comfortable setting may take a few nights to find, but that effort is worthwhile. Treat humidity as a flexible part of your bedtime routine, listen to the signals from your body, and make small adjustments that help you breathe better and sleep deeper.